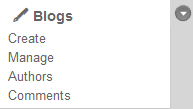
The blog feature lets you to manage your blog entries and categories, blog authors, and readers' comments.
Add Category
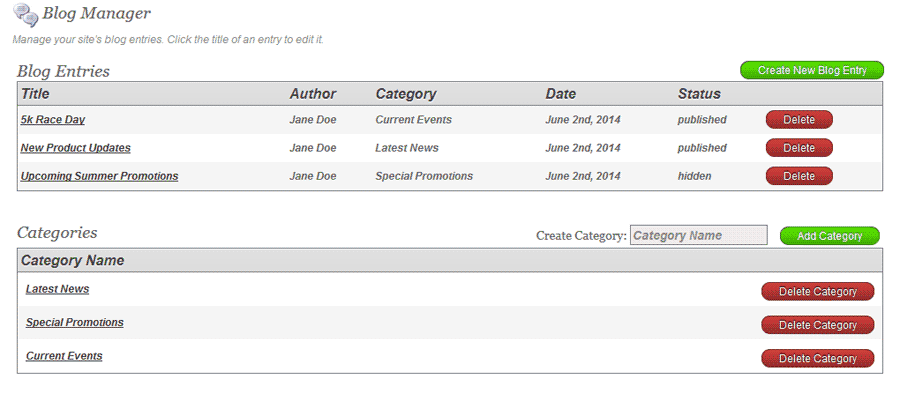
You must choose a category for each blog entry that you make. Type the category name that you want into the Create Category field and click Add Category. This will then show up in the Categories box.
Create New Blog Entry
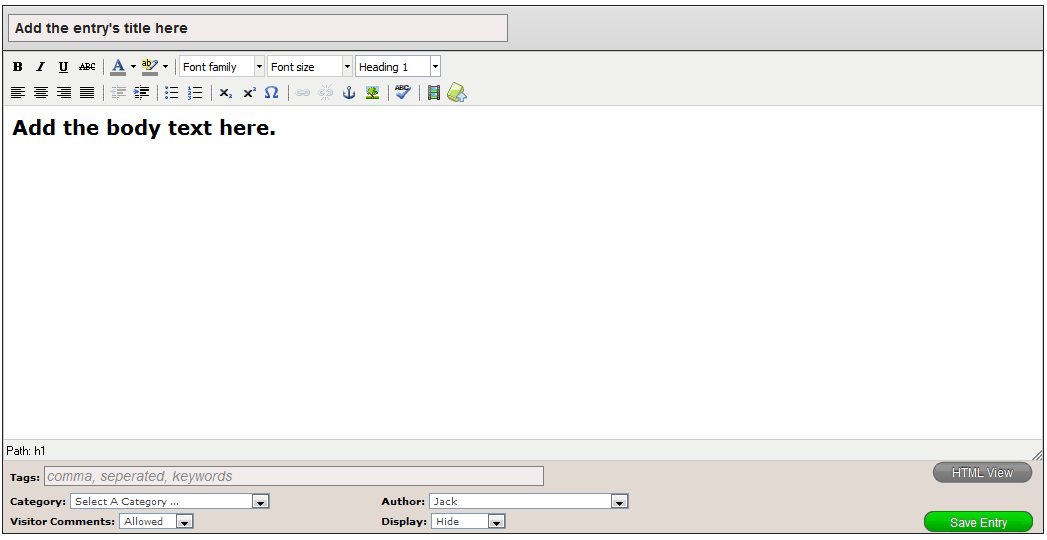
Once you have made a category, you can start adding blog entries to it. Click Create New Blog Entry. Fill in the Blog Title and body text that you want for that specific entry. You have many tools at the top of the text editer that you can use to add images, insert bulleted lists and run the spell checker.
At the bottom of the text editor you have several options:
- Tags: Add keywords, seperated by commas, for your blog entry.
- Category: Choose the category from the drop-down list that you want the entry to go into.
- Author: This is automatically set to the admin currently signed in. See Administrative Users for more information on adding admins. You can also change your author name under the Authors page. See Authors and Headshots for more information.
- Visitor Comments: Choose if you want to allow visitors to leave comments on the blog entry (default is Allowed). Every comment will be sent for approval to your admin email address.
- Display: This lets you hide or display the entry on the blog's page (the default is hide).
Be sure to click Save Entry when you are finished.